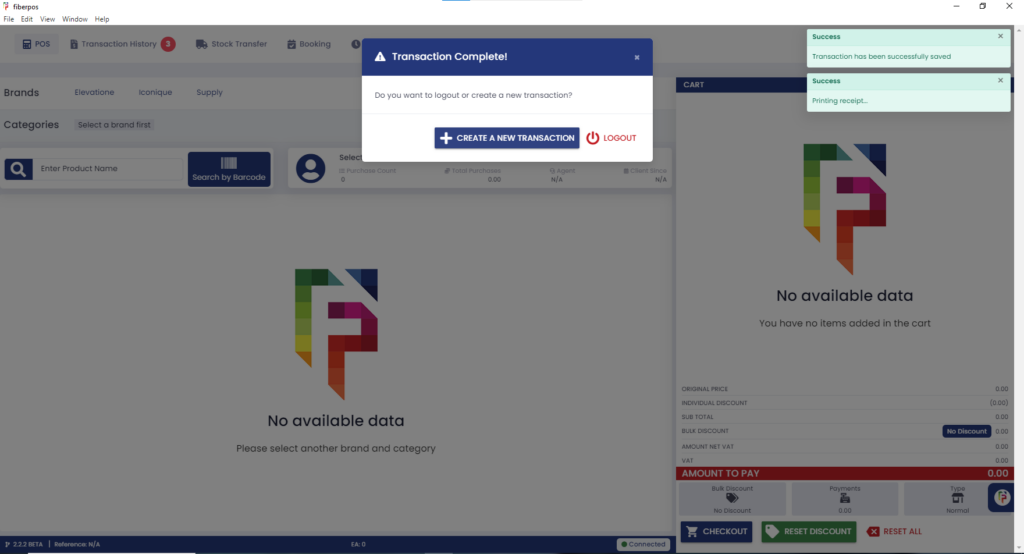
Setting to arrived
1. Upon successfully logging into the system, navigate to the “Booking” tab located in the top menu bar.
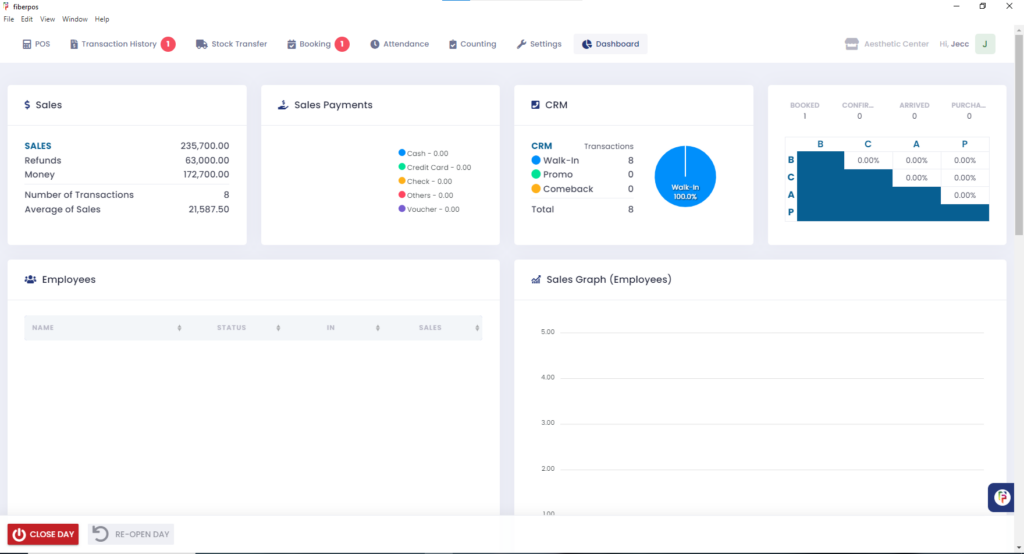
2. Once in the Booking section, the option “Show Only Today’s Bookings” will be automatically selected. This allows you to view appointments scheduled for the current day. Click the appointment that you want to update if the client has already arrived.
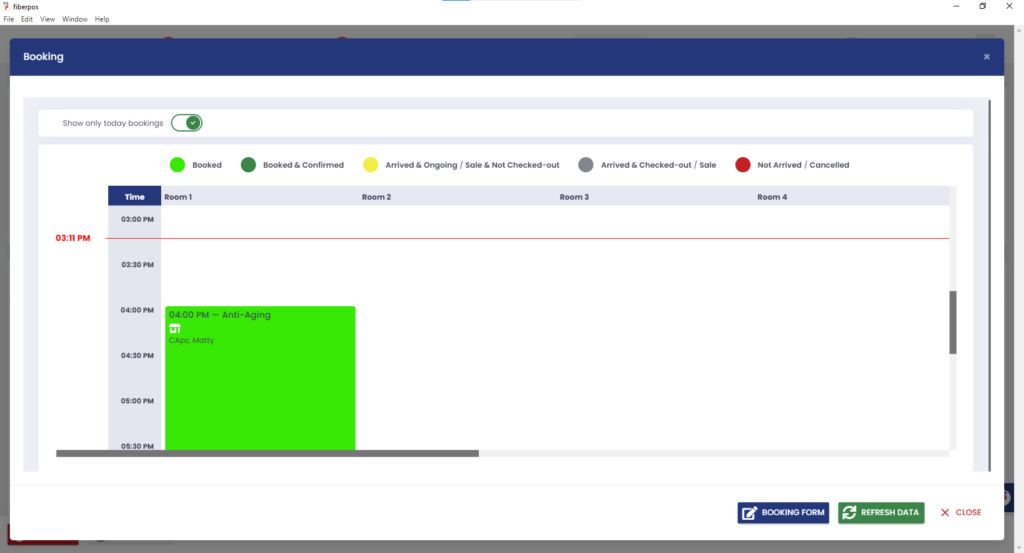
3. Once in the booking form, click the “Arrived” button.
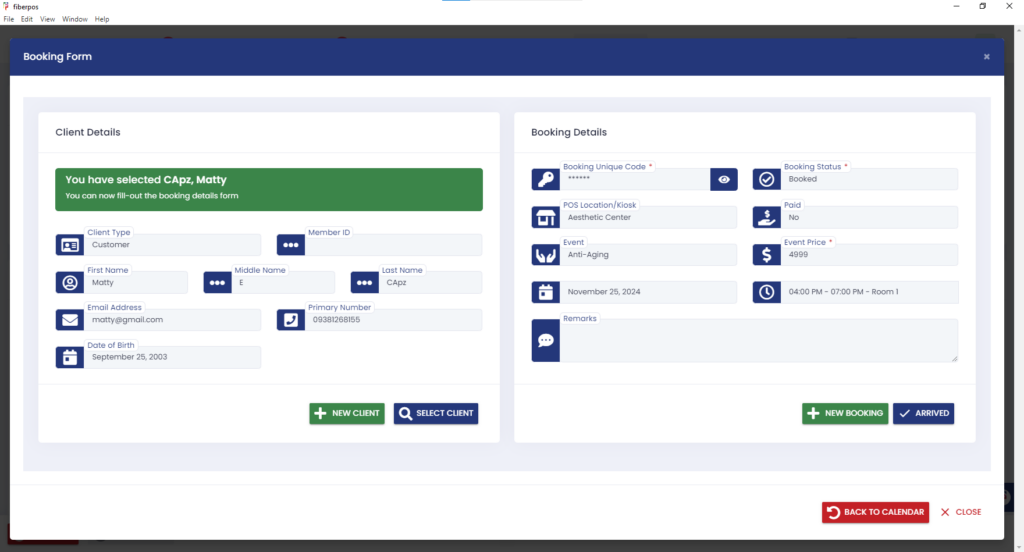
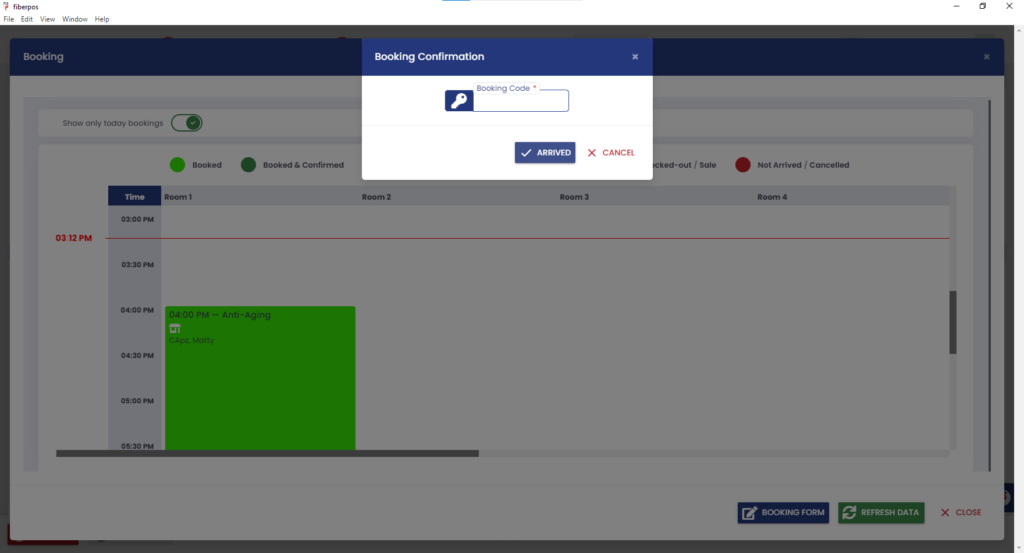
4. Before proceeding, you must enter the booking code. Each booking has a unique code, and you cannot continue without entering the correct one. If you don’t have the booking code, click the “Cancel” button. This will redirect you to the booking section. From there, select the appointment you want to update.
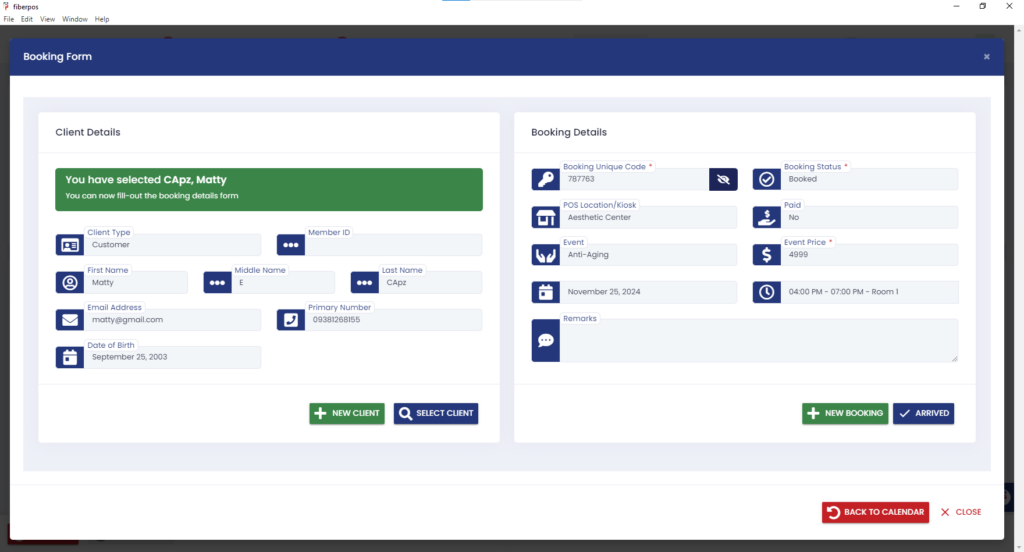
5. In the booking details, locate the unique booking code and click the eye icon to reveal it. Copy the code and return to the “Arrived” section. Paste the unique code to proceed.
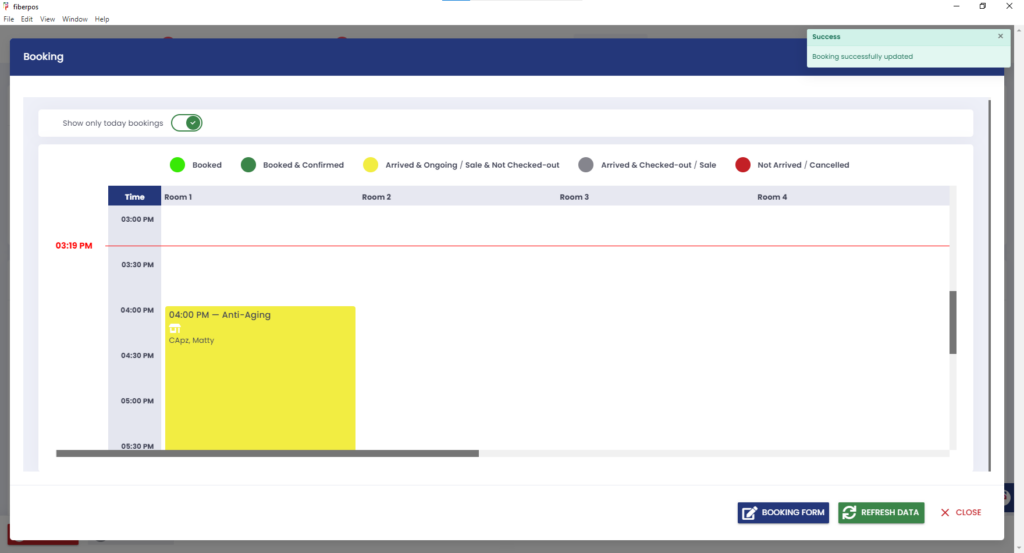
6. The dashboard will update to show “Arrived & Ongoing” in the booking section.
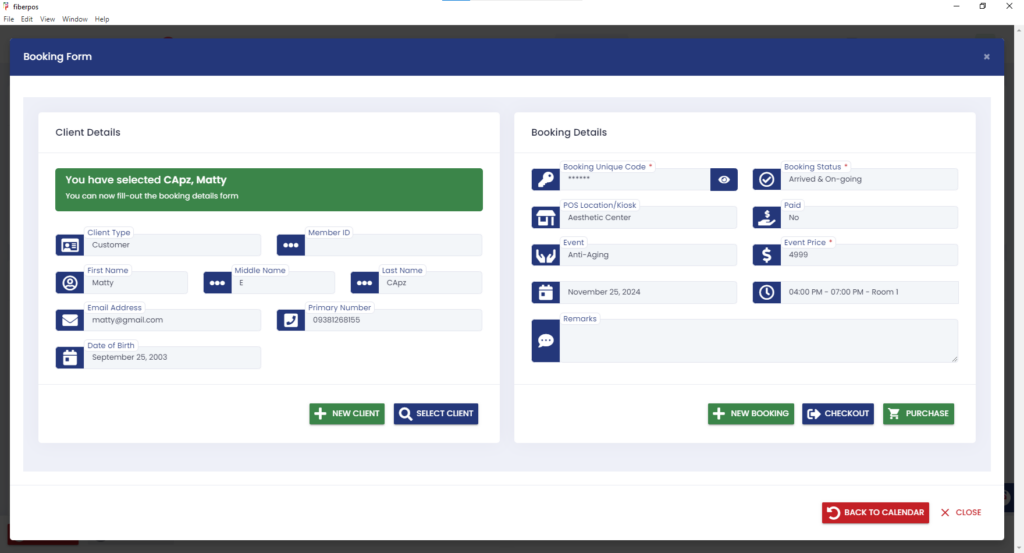
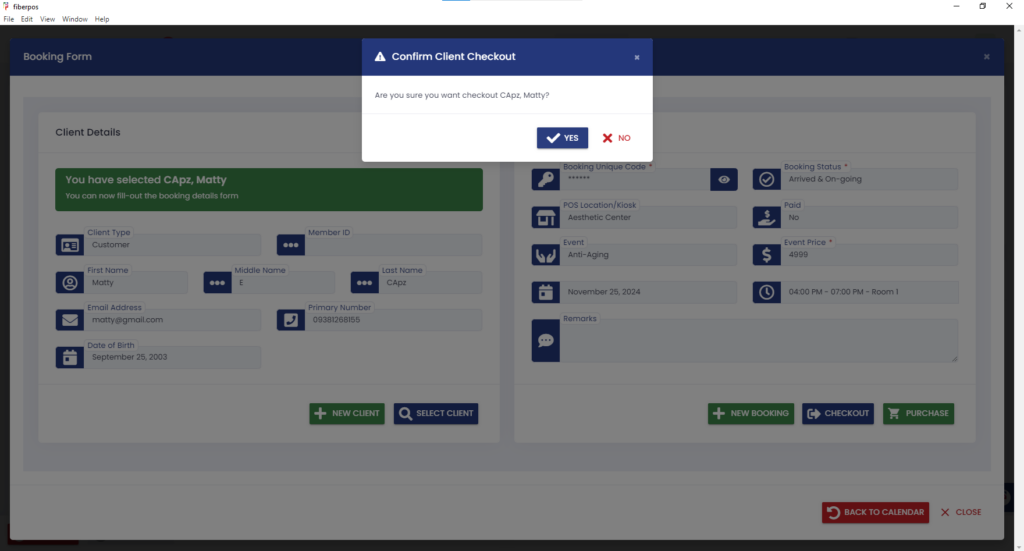
7. If the meeting with the client went well, click on the appointment in the booking section to update it. Once the client has checked out, click the “Checkout” button.
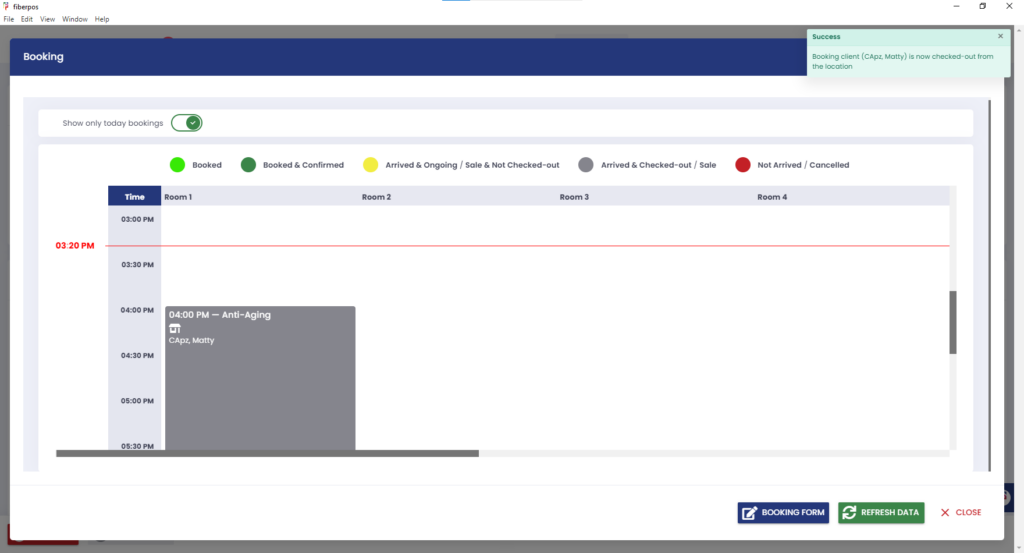
8. After clicking the “Checkout” button, it will display a confirmation. If you click yes, the dashboard will update, showing that the client has checked out from the location.
Transacting from a booking
1. Upon successfully logging into the system, Navigate to “POS” tab located in the top left menu bar.
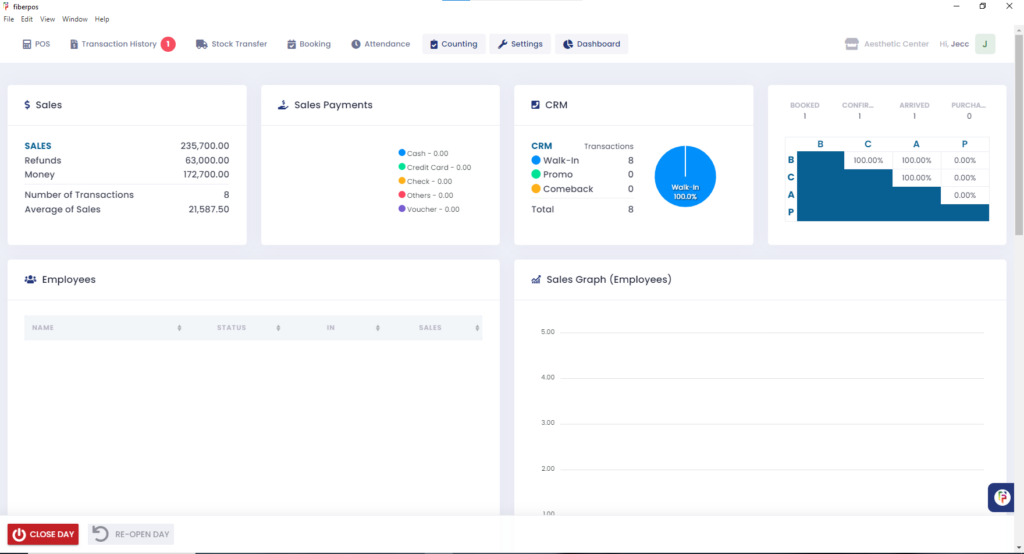
2. Once in the POS section, choose the brand associated with the products the client wants to purchase.

3. After selecting the brand, click the relevant product category. Use the category menu to locate products more effectively, considering that some brands may have multiple categories.

4. To locate a specific product, you can browse manually by scrolling or you can browse it by using the search or barcode search options below the categories. This function is especially useful for quick access if the client is purchasing multiple items.
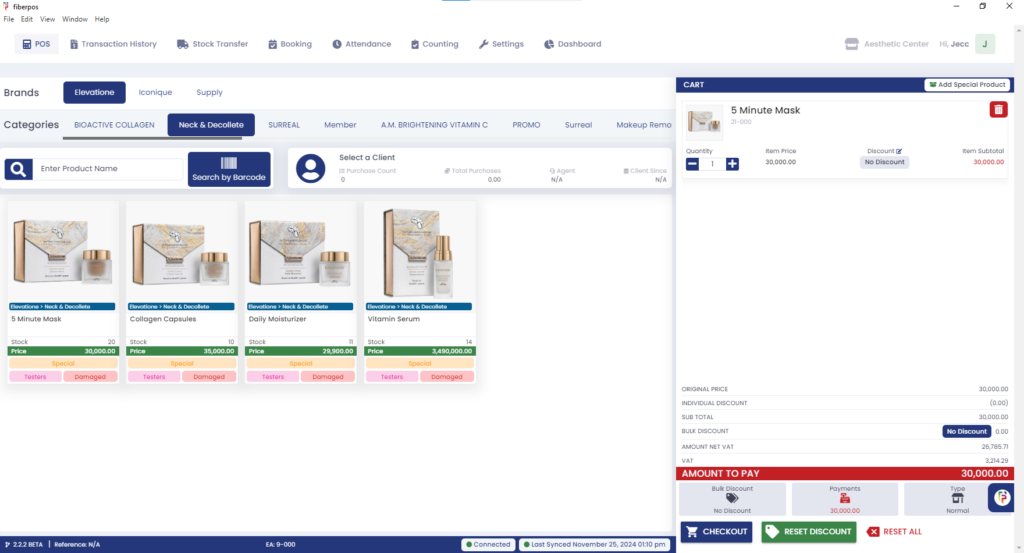
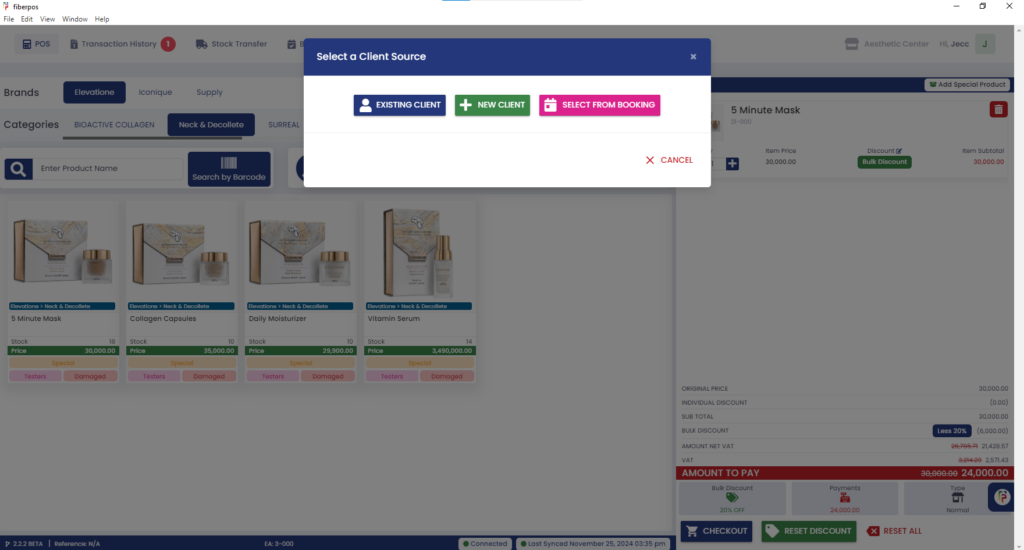
5. Click the “CHECKOUT” button to proceed on payments. Then click the “SELECT FROM BOOKING”
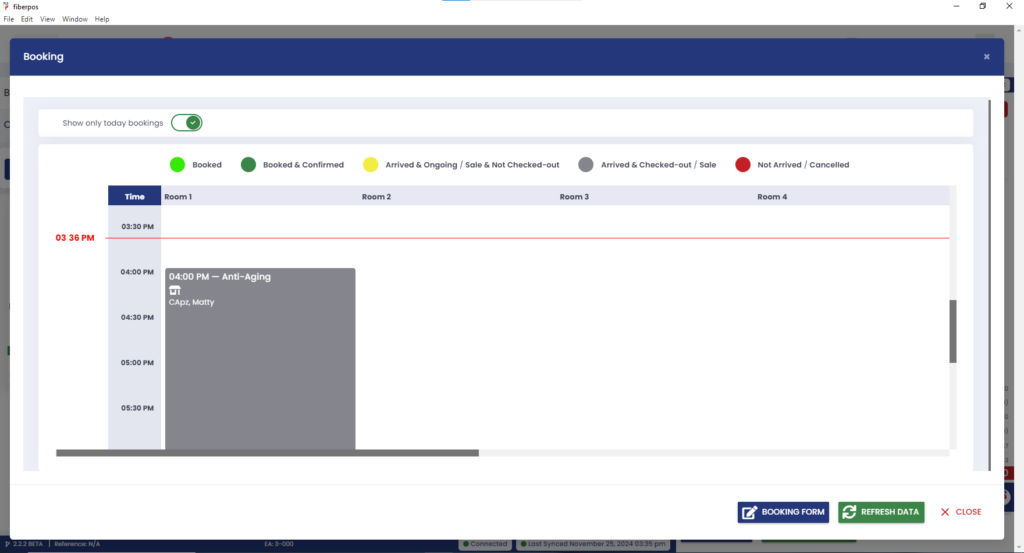
6. From the Booking Section, the booking schedule for the day will pop up. The option “Show Only Today’s Bookings” will be automatically selected. This allows you to view appointments scheduled for the current day. Select the client from the booking and click the “PURCHASE” button to proceed. A confirmation will popup to proceed.
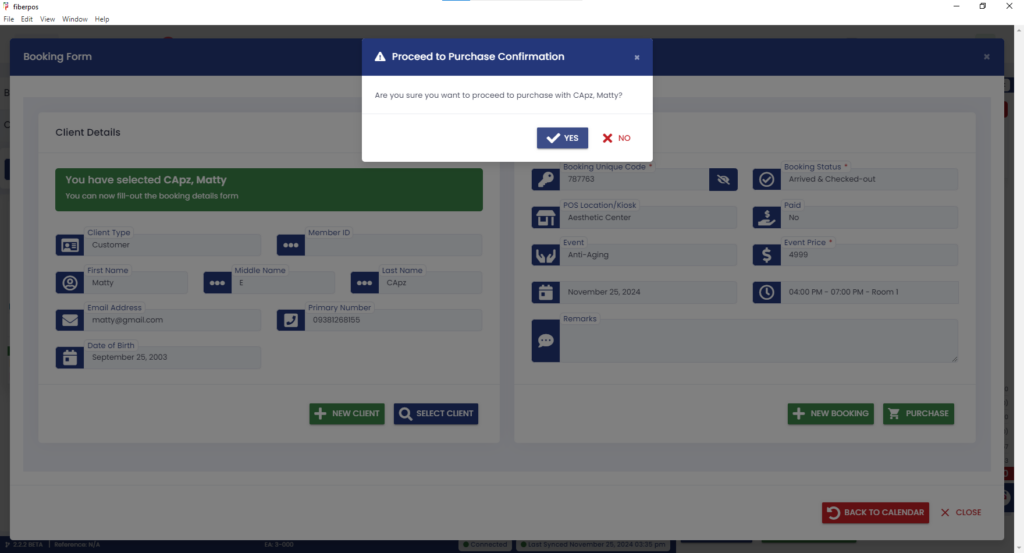
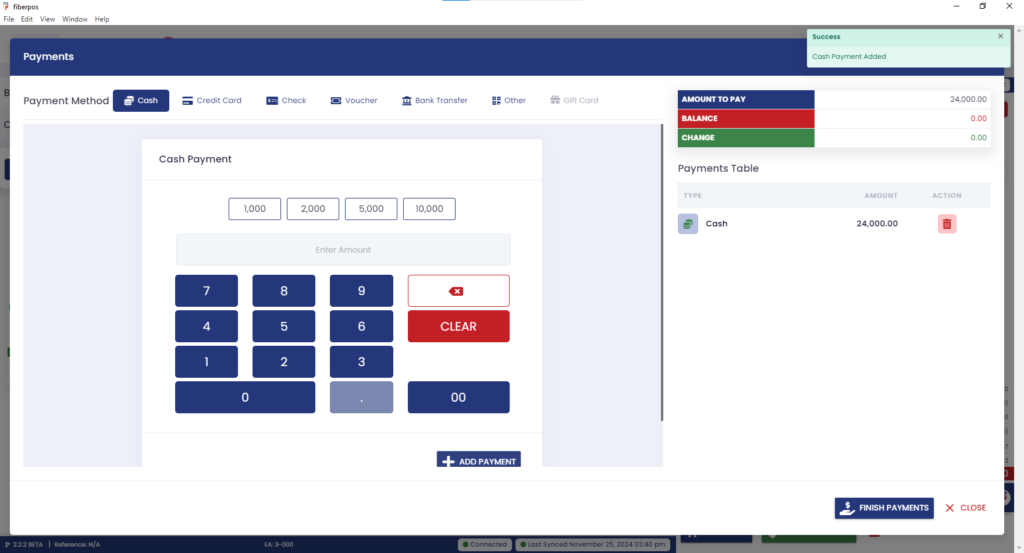
8. Once it is confirmed, the Payments window will open, displaying the following payment methods: Cash, Credit Card, Check, Voucher, Bank Transfer, Other. For example here, if the client chose the cash payment, input the amount using the on-screen number pad or pre-setdenominations (e.g., 1,000, 2,000, 5,000, 10,000). Ensure the total matches the purchase amount and is added to the PAYMENTS TABLE. Click FINISH PAYMENTS to finalize.
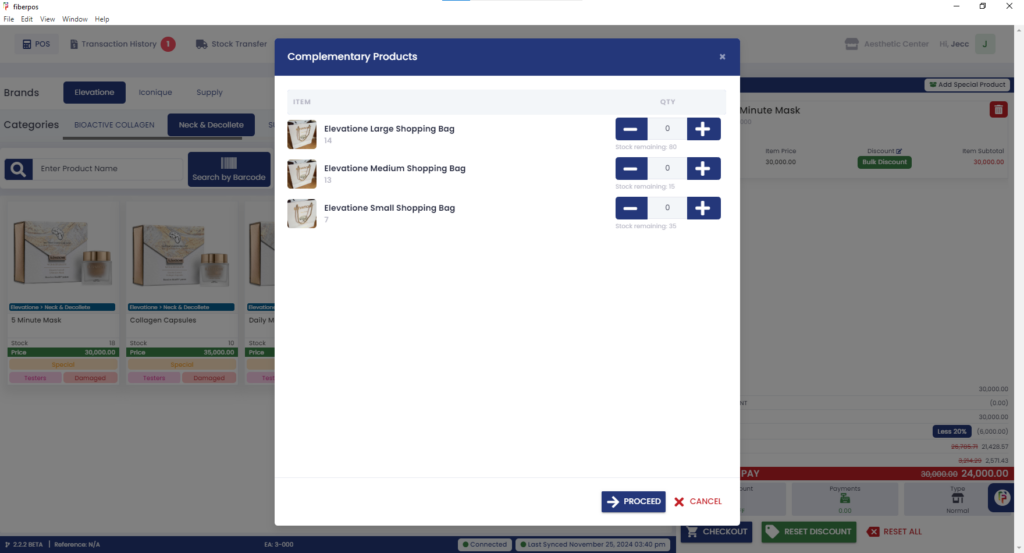
9. After FINISH PAYMENT, a window will appear for complementary items, such as bags or holders, provided at no cost. Select the number of necessary items by pressing add or subtract to the “QTY” and proceed.
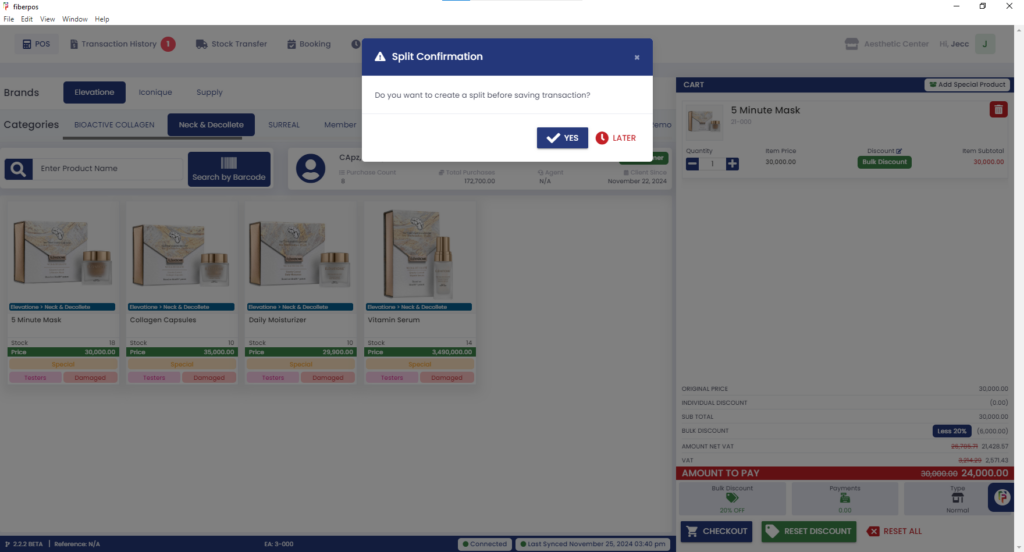
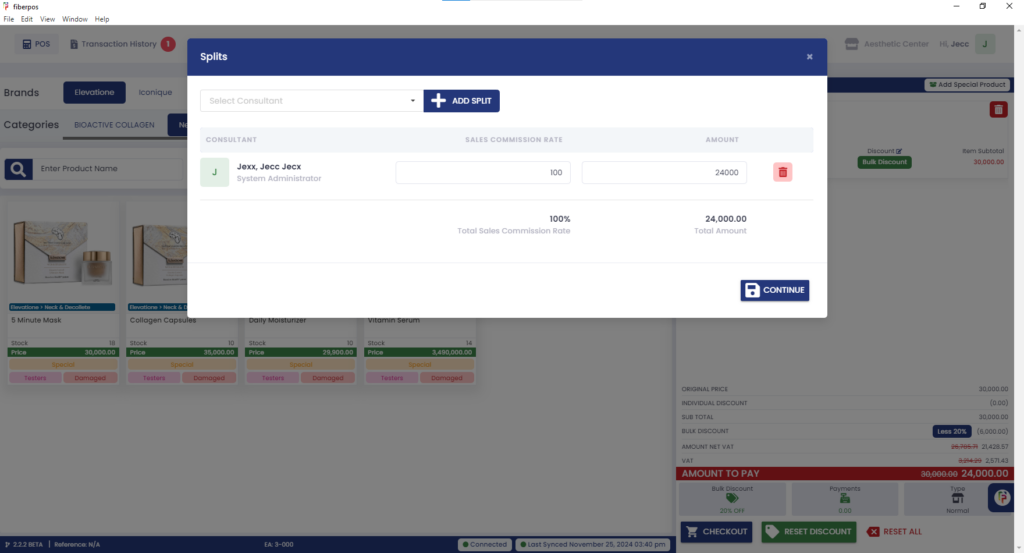
10. A confirmation prompt for splitting commissions among consultants will appear. Select “Yes” or “Later.” If choosing “Yes,” search for the consultant(s) and allocate the division of commission as appropriate.
11. Choose CREATE A NEW TRANSACTION or Log Out to close your session.
